Tile by Tile: Ensuring a Watertight Roof Installation
I. Introduction
A well-functioning home relies heavily on a watertight roof, a crucial component that protects against weather elements and contributes to the overall structural integrity of the house. A leaky roof can lead to a multitude of problems, including water damage, mold, and decay that can compromise your home’s safety and value. An essential factor in ensuring a watertight roof is the proper installation of roof tiles. This process, while seemingly straightforward, requires precision and understanding of the materials involved to ensure maximum performance and lifespan of your roof.
The significance of correct tile installation cannot be overstated. The use of quality materials and installation techniques directly affect the durability and function of the roof. Moreover, a properly installed tile roof enhances the aesthetic appeal of your home, adding value and curb appeal. This article aims to guide homeowners through the process of ensuring a watertight tile roof installation.
A watertight roof is crucial for maintaining a safe and secure home. It not only protects against the elements but also contributes to the overall structural integrity of the house. A leaky roof can result in extensive water damage, mold growth, and decay, which can significantly impact the safety and value of your home. One of the key factors in achieving a watertight roof is the proper installation of roof tiles. While this may seem like a simple task, it requires precision and an understanding of the materials involved to ensure optimal performance and longevity.
The installation of roof tiles plays a vital role in the durability and functionality of the roof. By using high-quality materials and employing correct installation techniques, you can significantly enhance the lifespan of your roof. Additionally, a well-installed tile roof adds to the aesthetic appeal of your home, increasing its value and curb appeal. This comprehensive article serves as a guide for homeowners, providing detailed steps to ensure a watertight tile roof installation.
II. Understanding the Roofing Material
Roofing tiles are available in a variety of materials, each with its pros and cons. Common types include clay, concrete, metal, and composite tiles.
-
Clay tiles: These tiles are known for their durability and environmental friendliness. They offer excellent resistance to harsh weather conditions and are a popular choice for homeowners seeking long-lasting roofing solutions. However, clay tiles can be relatively expensive compared to other options.
-
Concrete tiles: Concrete tiles are versatile and affordable, making them a popular choice among homeowners. They are available in various colors and styles, allowing for customization to match the architectural style of your home. However, concrete tiles may require more maintenance compared to other materials.
-
Metal tiles: Metal tiles are lightweight and highly resistant to extreme weather conditions, including high winds and heavy rains. They are also fire-resistant and can provide excellent energy efficiency. However, some homeowners may find metal tiles less aesthetically pleasing.
-
Composite tiles: Composite tiles are made from a combination of materials, offering a balance between durability and design flexibility. They can mimic the appearance of natural materials like wood or slate while providing enhanced durability and weather resistance. However, composite tiles can be more costly compared to other options.
When choosing the right tile for your roof, several factors should be considered. These include durability, cost, aesthetics, and maintenance requirements. Additionally, it is essential to take into account the local climate and the architectural style of your home. For example, clay tiles are well-suited for warmer climates due to their heat resistance, while metal tiles may be more suitable for regions prone to severe weather conditions.
Selecting the appropriate roofing material is a crucial step in ensuring a watertight tile roof installation. There are various types of roofing tiles available, each with its own advantages and disadvantages.
-
Clay tiles are renowned for their durability and eco-friendliness. They are resistant to extreme weather conditions and offer a long lifespan. However, they tend to be more expensive compared to other options.
-
Concrete tiles are a popular choice due to their affordability and versatility. They come in a wide range of colors and styles, allowing homeowners to customize their roof’s appearance. However, concrete tiles may require more maintenance compared to other materials.
-
Metal tiles are lightweight and highly resistant to severe weather conditions. They are fire-resistant and provide excellent energy efficiency. However, some homeowners may find metal tiles less visually appealing.
-
Composite tiles offer a combination of durability and design flexibility. They can resemble natural materials like wood or slate while providing enhanced weather resistance. However, composite tiles can be more costly compared to other options.
When selecting the right tile for your roof, it is important to consider factors such as durability, cost, aesthetics, and maintenance requirements. Additionally, the local climate and architectural style of your home should be taken into account. For instance, clay tiles are ideal for warmer climates due to their heat resistance, while metal tiles are suitable for regions prone to severe weather conditions.
III. Preparing the Roof for Installation
Before installing the tiles, it’s essential to assess the current condition of the roof. This includes checking for damaged or missing shingles, leaks, and other signs of wear and tear. If necessary, repairs or replacements should be made prior to the new installation to provide a solid base for the tiles.
Proper ventilation and insulation play a crucial role in preparing the roof for tile installation. These elements help regulate temperature, prevent moisture buildup, and extend the lifespan of the roof. Therefore, before the tile installation process begins, homeowners should ensure that their roof has adequate ventilation and insulation systems in place.
A thorough inspection of the roof is necessary before proceeding with the tile installation. This involves checking for any damaged or missing shingles, leaks, or signs of wear and tear. Addressing these issues beforehand is essential to ensure a solid base for the new tiles.
In addition, proper ventilation and insulation are vital in preparing the roof for tile installation. Adequate ventilation helps regulate the temperature in the attic, preventing moisture buildup and potential damage to the roof structure. Insulation, on the other hand, helps maintain an optimal indoor temperature and further protects the roof from potential moisture-related issues. It is crucial to ensure that the roof has proper ventilation and insulation systems in place before beginning the tile installation process.
IV. Installing the Tiles
A. Step-by-step guide to tile installation process:
-
Preparing the underlayment: The underlayment acts as a barrier against water and wind, providing an extra layer of protection beneath the tiles. This should be securely fastened to the roof deck to prevent shifting or tearing.
-
Placing the starter tiles: Starter tiles are installed along the roof’s edge to provide a straight line and solid base for the rest of the tiles. They should be securely attached, ensuring proper alignment and spacing.
-
Installing the main tiles: Starting from the bottom and working upwards, the main tiles are placed overlapping each other. This overlapping pattern helps deflect water away from the roof and ensures proper water drainage. It is important to follow the manufacturer’s guidelines regarding the required overlap and spacing.
-
Cutting tiles for edges and corners: Tiles should be carefully cut to fit the edges and corners of the roof, ensuring a tight fit and seamless appearance. Properly cut tiles prevent water infiltration and maintain the overall integrity of the roof.
-
Securing the tiles with fasteners or adhesives: Depending on the type of tile used, they may be secured with nails, screws, or adhesives. This ensures that the tiles will remain in place even under extreme weather conditions. Proper fastening techniques are crucial to prevent tiles from becoming dislodged.
-
Applying mortar or grout: Mortar or grout is applied to fill gaps and provide a watertight seal. This step is essential in preventing water intrusion and ensuring the overall stability of the roof. Proper application of mortar or grout is necessary to achieve an effective seal.
-
Checking for proper alignment and spacing: Finally, it’s important to verify that the tiles are properly aligned and spaced. This ensures a uniform appearance and effective water drainage. Proper alignment and spacing contribute to the overall structural integrity of the roof and prevent potential water-related issues.
B. Common mistakes to avoid during tile installation:
-
Incorrect alignment or spacing: Misaligned or improperly spaced tiles can lead to water leakage and aesthetic problems. It’s essential to follow the manufacturer’s guidelines regarding tile placement to ensure proper alignment and spacing.
-
Inadequate fastening or adhesion: Tiles that are not securely fastened can become dislodged over time, exposing the underlying roof structure to the elements. Proper fastening techniques, whether using nails, screws, or adhesives, should be employed to ensure the tiles remain in place.
-
Improper use of mortar or grout: Excessive or insufficient use of mortar or grout can lead to gaps that allow water to seep in. It’s important to apply the right amount to ensure a watertight seal. Following the manufacturer’s instructions and using the appropriate tools and techniques are crucial in achieving an effective mortar or grout application.
V. Ensuring Water Resistance
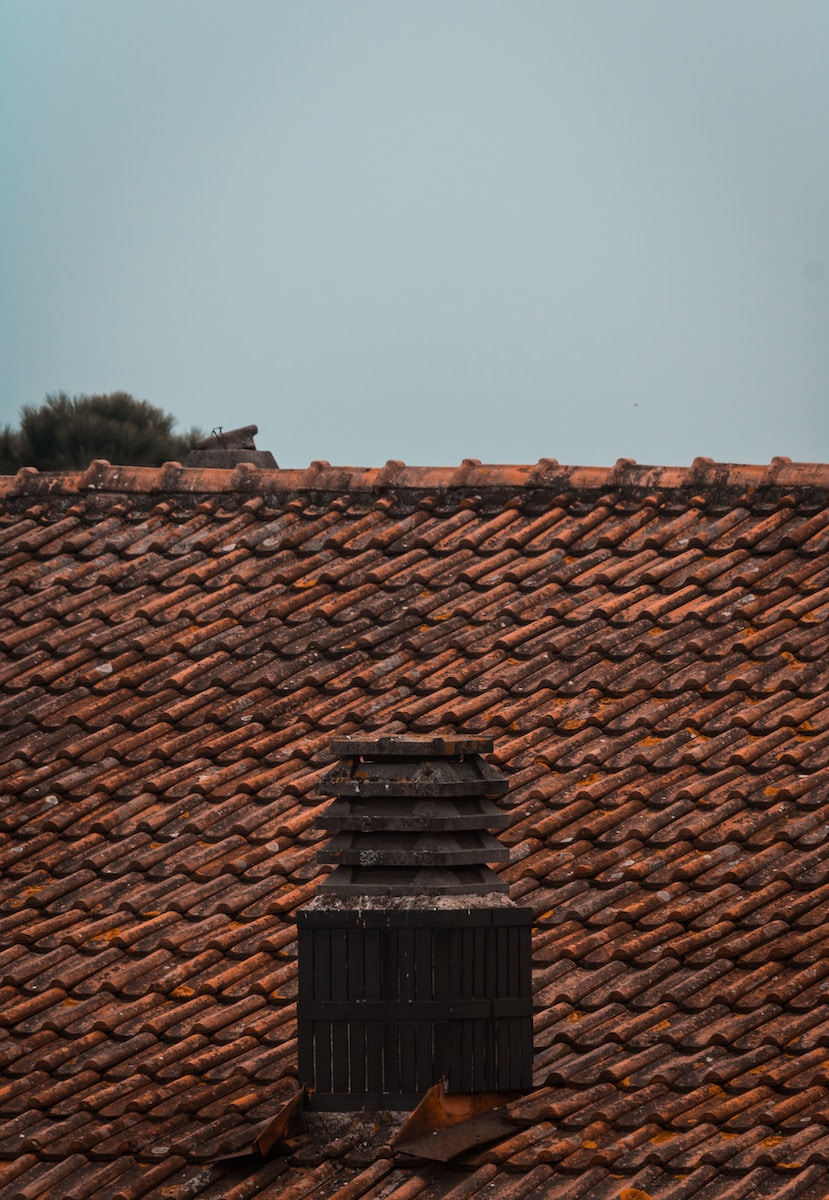
Proper flashing and sealing techniques are critical to ensuring a watertight roof. Flashing, typically made of metal, is installed around roof penetrations like chimneys and vents to direct water away from these vulnerable areas. Similarly, sealing is used to create a watertight barrier at the edges of the roof and between the tiles.
The use of weatherproof barriers and membranes can further enhance the roof’s water resistance. These materials are designed to repel water and prevent it from reaching the underlying roof structure. They should be applied in accordance with the manufacturer’s guidelines to ensure optimal performance.
Conducting a thorough inspection after installation is also key to detecting potential leaks. This includes checking for missing or damaged tiles, improper sealing, and other issues that could compromise the roof’s water resistance. Timely repairs and maintenance can prevent further damage and ensure the long-term effectiveness of the roof’s water resistance.
Water resistance is a crucial aspect of a well-installed tile roof. Proper flashing and sealing techniques are essential to prevent water intrusion. Flashing, typically made of metal, is installed around roof penetrations such as chimneys and vents to redirect water away from vulnerable areas. Sealing is used to create a watertight barrier at the edges of the roof and between the tiles, further enhancing water resistance.
To enhance the roof’s water resistance, the use of weatherproof barriers and membranes is recommended. These materials are designed to repel water and prevent it from seeping into the underlying roof structure. Following the manufacturer’s guidelines for the application of these barriers and membranes is crucial to ensure their effectiveness.
After the installation is complete, conducting a thorough inspection is necessary to identify any potential leaks. This involves checking for missing or damaged tiles, improper sealing, and other issues that could compromise the roof’s water resistance. Timely repairs and maintenance are essential to address any identified issues and maintain the roof’s ability to withstand water infiltration.
VI. Maintaining and Repairing a Tile Roof
Regular maintenance is key to extending the lifespan of a tile roof. This includes periodic inspections to identify potential problems, regular cleaning to remove debris, and prompt repair of damaged or missing tiles.
Common issues that may arise include cracked or broken tiles, loose or missing fasteners, and deteriorating sealant. Addressing these issues promptly can prevent further damage and costly repairs.
While some maintenance tasks can be performed by homeowners, it’s often best to seek professional assistance for more complex repairs or when in doubt. Professionals have the tools, knowledge, and experience to properly assess and address roof issues, ensuring the longevity and performance of your tile roof.
Maintaining a tile roof is essential to maximize its lifespan. Regular maintenance tasks should be performed, including periodic inspections, cleaning to remove debris, and prompt repair of any identified issues.
Common issues that may arise with a tile roof include cracked or broken tiles, loose or missing fasteners, and deteriorating sealant. These issues should be addressed as soon as they are detected to prevent further damage and costly repairs.
While homeowners can perform some maintenance tasks themselves, it is advisable to seek professional assistance for more complex repairs or if uncertainty exists. Professionals possess the necessary expertise, tools, and experience to accurately assess and address roof issues, ensuring the long-term performance and durability of your tile roof.
VII. Conclusion
Installing a watertight tile roof is a complex process that requires careful planning, understanding of the materials involved