Crafting with Clay and Concrete: A DIY Guide to Tile Roofing
I. Introduction
A sturdy, well-maintained roof is a crucial element of every home. It shields you from the elements, contributes to the energy efficiency of your home, and increases your property’s overall value. The right roofing material plays a significant role in these benefits. This article will delve into the advantages of using clay and concrete tiles for roofing. These materials are not only durable but also aesthetically appealing, offering a variety of designs and styles to choose from. Moreover, we will provide a comprehensive DIY guide to tile roofing, equipping you with the necessary knowledge to embark on your roofing project.
When it comes to roofing materials, clay and concrete tiles are two popular options to consider. Both materials offer unique advantages and challenges that homeowners should carefully consider before making a decision. Clay tiles are known for their durability and ability to withstand harsh weather conditions. They are made from natural clay and fired at high temperatures, which gives them exceptional strength. Concrete tiles, on the other hand, are more affordable and easier to install compared to clay tiles. They are made from a mixture of cement, sand, and water, and are available in various colors and styles.
II. Understanding Clay and Concrete Tiles
Clay and concrete tiles, while similar in appearance, possess different characteristics. Clay tiles are generally more durable and can withstand harsh weather conditions compared to concrete tiles. They have a longer lifespan and are resistant to fading, cracking, and color changes. Additionally, clay tiles offer excellent insulation properties, helping to keep your home cool in the summer and warm in the winter. However, they can be more expensive than concrete tiles and require professional installation due to their weight.
On the other hand, concrete tiles are more affordable and easier to install. They are available in a wide range of colors and styles, allowing homeowners to achieve their desired aesthetic. Concrete tiles are also resistant to fire, insects, and rot, making them a low-maintenance option. However, they are not as durable as clay tiles and may require more frequent repairs or replacements. It’s important to consider your specific needs and budget when choosing between clay and concrete tiles for your roofing project.
III. Tools and Materials Needed
Before starting your tile roofing project, it’s essential to gather all the necessary tools and materials. Having the right tools will ensure a smooth and efficient installation process. Some of the tools you will need include roofing nailers, tile cutters, ladder hooks, and a chalk line. These tools will help you measure, cut, and secure the tiles properly.
In addition to the tools, you will also need to choose the type of clay or concrete tiles that best suit your needs. There are various options available, including different colors, shapes, and designs. Consider the architectural style of your home and your personal preferences when selecting the tiles.
Furthermore, you will need additional materials such as underlayment and fasteners for the installation process. Underlayment acts as a moisture barrier and provides added insulation. Make sure to choose an underlayment that is compatible with your chosen tiles and weather conditions. Fasteners, such as screws or nails, are used to secure the tiles to the roof deck. It’s important to select the appropriate fasteners based on the type of tiles you are using and the roofing substrate.
IV. Preparing the Roof
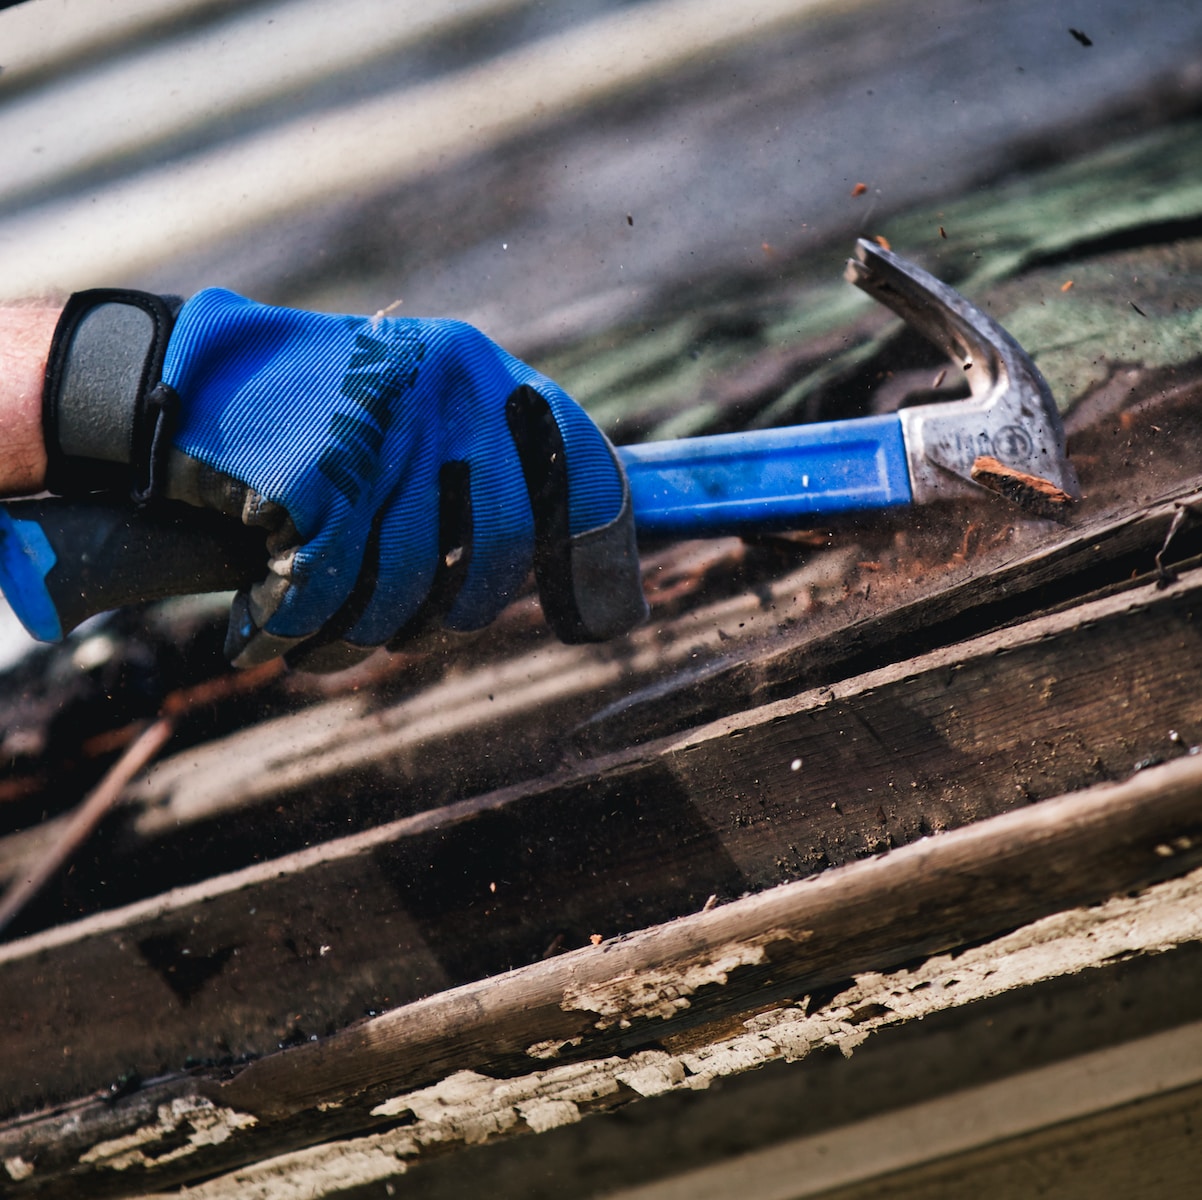
Before installing the tiles, it’s crucial to assess the existing roof structure and address any necessary repairs or replacements. Start by inspecting the roof deck for any signs of damage or wear that may affect the installation. Look for loose or damaged boards, rot, or leaks. It’s important to fix these issues before proceeding with the tile installation to ensure a solid foundation.
Once the roof deck is in good condition, the next step is to prepare the roof surface for tile installation. This involves cleaning the surface to remove any dirt, debris, or old roofing materials. A clean surface will ensure proper adhesion of the underlayment and tiles. After cleaning, install the underlayment, which acts as a barrier against water penetration. Make sure to follow the manufacturer’s instructions for proper installation techniques.
V. Installing Clay and Concrete Tiles
This section provides a step-by-step guide to tile installation, ensuring that you have a clear understanding of the process.
- Start by measuring and marking the roof for accurate tile placement. This will help you create a layout plan and ensure that the tiles are aligned properly.
- Apply the underlayment according to the manufacturer’s instructions. This typically involves rolling out the underlayment and securing it to the roof deck.
- Install the waterproofing membrane on top of the underlayment to provide an extra layer of protection against water infiltration.
- Create a tile layout plan, taking into consideration the size and shape of the tiles. This will help you determine the best placement and ensure a visually pleasing result.
- Begin installing the first row of tiles, starting from the bottom edge of the roof. Use roofing nails or screws to secure the tiles in place, following the manufacturer’s recommendations for spacing and fastener placement.
- Continue installing subsequent rows of tiles, making sure to properly align and secure each tile. Use a chalk line to maintain straight rows and a level to ensure even placement.
- Cut tiles to fit around vents, chimneys, and other obstacles using a tile cutter or wet saw. Take accurate measurements and make precise cuts to achieve a seamless look.
- Install ridge tiles and hip tiles to complete the roof’s edges and give it a finished appearance. Secure these tiles with mortar or adhesive, following the manufacturer’s instructions.
- Throughout the installation process, ensure proper tile alignment and spacing to maintain a consistent pattern. Double-check your work regularly to catch any mistakes or misalignments.
VI. Roofing Safety Precautions
Safety should always be a top priority when working on any DIY project, including tile roofing. Here are some essential safety precautions to keep in mind:
- Wear safety glasses, gloves, and appropriate footwear to protect yourself from potential hazards.
- Use caution when climbing ladders and ensure that they are properly secured before ascending.
- Avoid working on the roof during extreme weather conditions, such as high winds or heavy rain.
- Stay hydrated and take regular breaks to prevent exhaustion or heat-related illnesses.
- Use proper lifting techniques when handling heavy tiles or equipment to avoid strain or injury.
- If necessary, use a safety harness or fall protection system to prevent falls from the roof.
By following these safety precautions, you can minimize the risk of accidents and injuries while working on your tile roofing project.
VII. Maintaining and Repairing Tile Roofs
Proper maintenance is essential for keeping your tile roof in optimal condition and extending its lifespan. Regular maintenance practices include:
- Cleaning the tiles regularly to remove dirt, moss, or debris that can accumulate over time. Use a soft brush or low-pressure water spray to avoid damaging the tiles.
- Inspecting the roof annually for any signs of damage, such as cracked or broken tiles, loose fasteners, or leaks. Address these issues promptly to prevent further damage.
- Replacing broken or damaged tiles as soon as possible. This will help maintain the integrity of the roof and prevent water infiltration.
- Applying a protective coating or sealant to the tiles every few years to enhance their durability and resistance to fading or color changes.
- Consulting with a professional roofer for more extensive repairs or maintenance tasks, such as resealing the entire roof or fixing structural issues.
By following these maintenance guidelines, you can ensure that your tile roof remains in top condition and continues to provide the benefits it offers.
VIII. Conclusion
In conclusion, this DIY guide provides a thorough understanding of tile roofing, from the benefits of clay and concrete tiles to the tools needed and the installation process. With this knowledge, you’re equipped to take on your own tile roofing project. Remember, while the task may seem daunting, the result is a durable, aesthetically pleasing roof that can significantly enhance your home’s value and appeal. Happy crafting with clay and concrete tiles!